Welcome to my DIY corner! I'm delighted to offer you these free tutorial "DIY Crochet: Set Sail with Your Boat Mobile".
If you enjoy my content and want to support my artistic journey, I invite you to browse my Online Shop for more handmade treasures.
Every visit and purchase helps me continue doing what I love. If you'd like to make a contribution, you can also support me on Buy Me a Coffee. Happy crafting!


------------------------------------------------------------------------------------------
Ahoy, crafters! Welcome aboard our nautical crochet tutorial. Today, we're crafting a charming rustic boat mobile, perfect for adorning your windows or adding a touch of seafaring whimsy to any wall.
Let's set sail on this creative adventure!
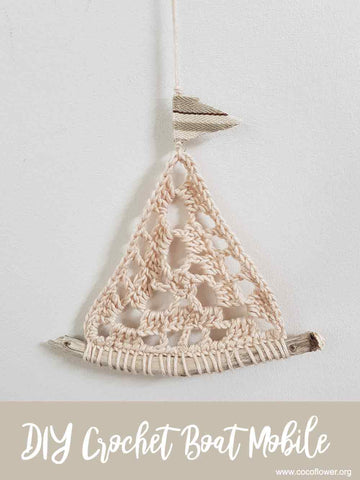
Materials:
-1 Driftwood branch
- Cotton - in this case this is organic Fonty cotton
- 4.5 Hook - if you want a stiffer sail, choose a smaller hook
- Fabric - in this case, it's linen with a stripe pattern
- Beads if you want to decorate the hanging thread
Step 1 :
Pick up a driftwood branch on the beach. Don't forget to clean it to avoid small bugs. I soaked it for 24 hours in a mixture of white vinegar and insecticide. Dry it well in the sun.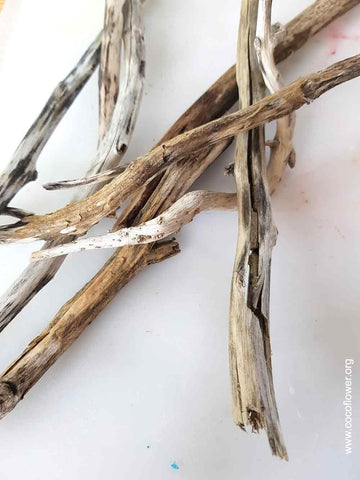
Stage 2: The Sail
Abbreviation :
ch st = chain stitch / sl st = slip stitch / hdc = half double crochet / dc = double crochet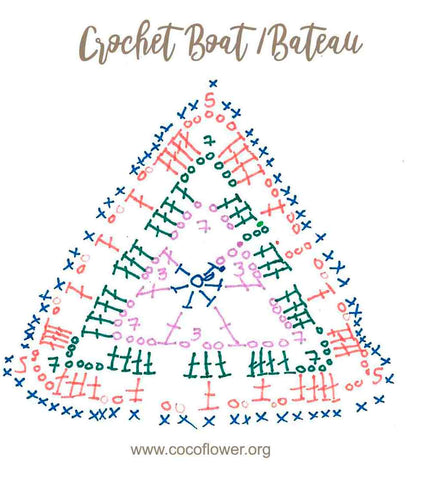
1st row (Blue on the diagram) : 2 chain stitch. Work to the first stitch. 6 half double crochet.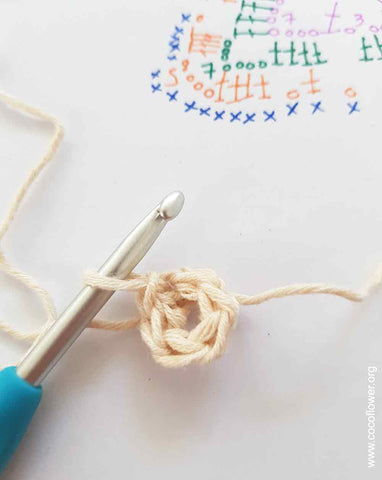
2nd row (Purple on diagram) : 5 chain stitch - then in the hdc of the previous row : 1 double crochet - 7 ch st - 1 dc - 3 ch st - 1 dc - 7 ch st - 1 dc- 3 ch st - 1 dc - 7 ch st - 1 slip stitch in the ch st of the beginning row.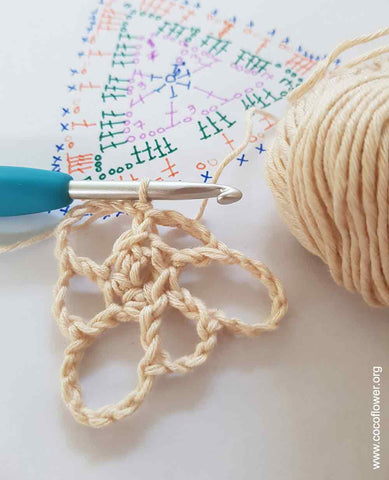
3rd row (Green on the diagram) : 3 ch st - follow the diagram with 3 dc in the 5 ch st of the previous row, then 4 dc, 7 ch st, 4 dc, 3 dc, 4 dc, 7 ch st, 4 dc, 3 dc, 4 dc, 7 ch st, 3 dc and 1 slip stitch in the 3 ch st of the previous row.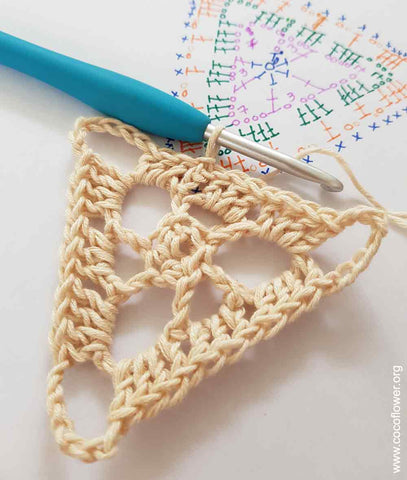
4th row (Orange on the diagram) : 1 slip stitch in the double crochet of the previous row, 1 mc in the dc of the previous row, then follow the diagram with 5 ch st (skip stitch 2 dc of the previous row) 1 dc
2 ch st (skip stitch 2 dc of the previous row), 4 dc, 5 ch st, 4 dc
Repeat 3 times [ 2 ch st (skip stitch 2 dc of the previous row), 1 dc ]
2 ch st (skip stitch 2 dc of the previous row), 4 dc, 5 ch st, 4 dc
Repeat 3 times [ 2 ch st (skip stitch 2 dc of the previous row), 1 dc ]
2 ch st (skip stitch 2 dc of the previous row), 4 dc, 5 ch st, 4 dc
2 ch st, 1 dc, 2 ch st, 1 slip stitch to finish the row in the chain of the beginning of the row 4.
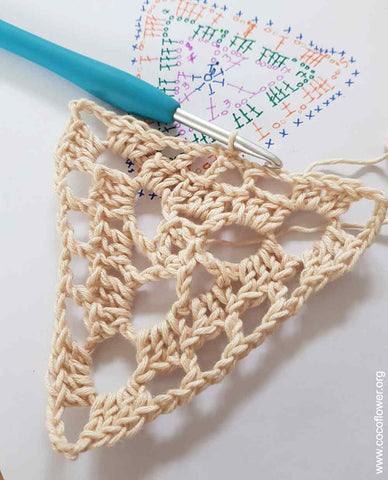
5th row (Blue on the diagram) : 1 ch st, then in each stitch of the previous row, make a single crochet. Tuck in and cut the wires.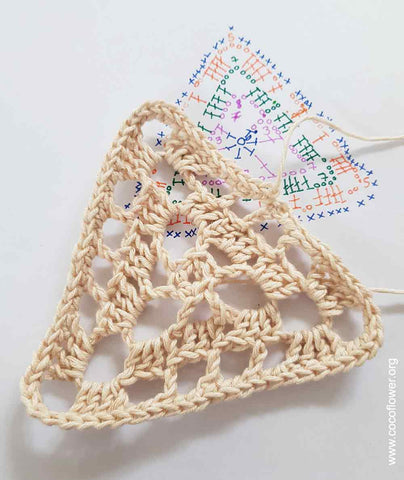
Step 3: The flag
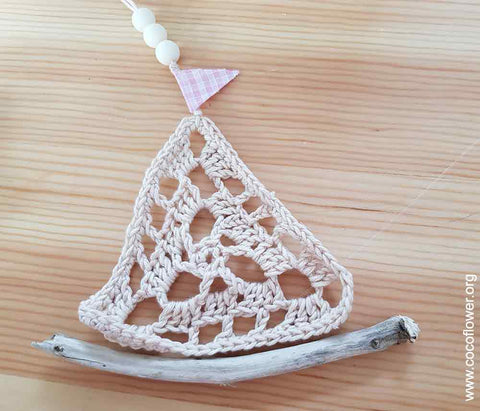
The flag can be made from lace or fabric. I've made several attempts. And everything is cute. It depends on your taste.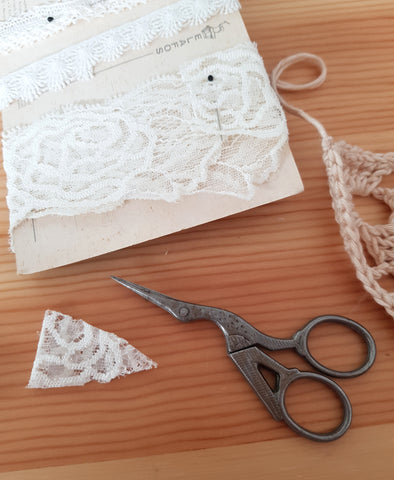
How do you do it? Hang a small piece of fabric. Fold it in half and glue with a glue gun. Cut into the shape of a pennant.
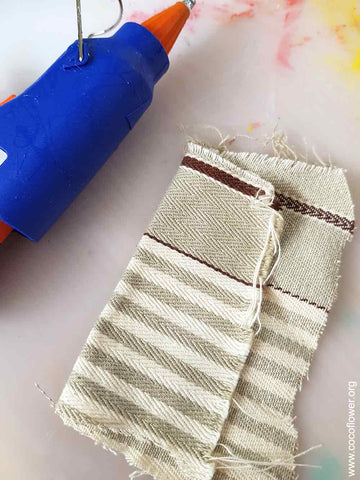
Insert a long thread at one end of the sail. Tie a knot. Glue the small flag with the glue gun. Tie another knot. From here, you can insert beads if you like.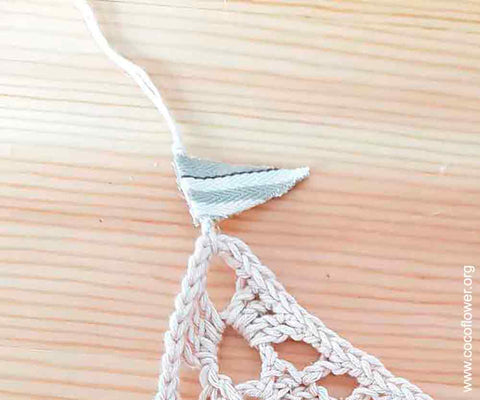
Step 4: the Boat Hull
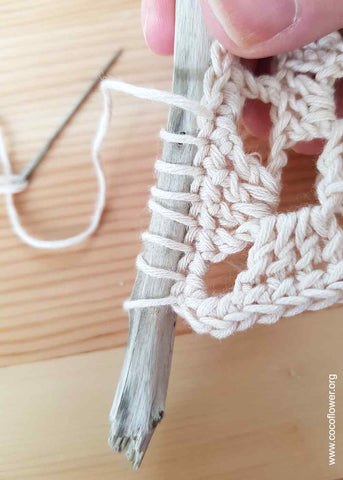
To hang your driftwood on your sail, simply pass the cotton thread through each stitch of the sail and around the pole.
And there you have it, your delightful rustic boat mobile is ready to adorn any space with its seafaring charm.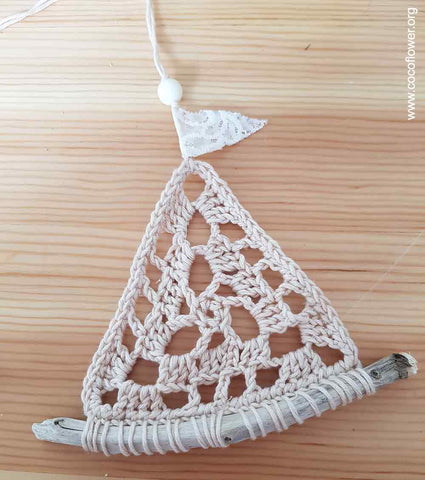
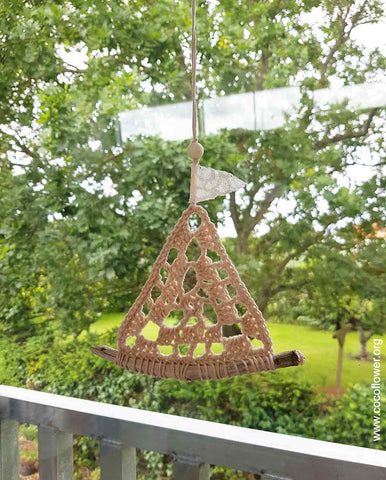
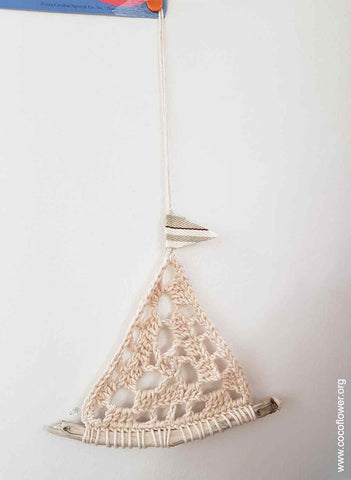
If you're looking to add more cozy creations to your collection, be sure to explore our cozy accessories available for sale.
Stay updated on new DIY projects, artwork, promotions, and creative inspiration! Subscribe to CocoFlower's occasional emails. ♥
Happy crafting and smooth sailing!
------------------------------------------------------------------------------------------
I'm delighted to offer you these free tutorials.
If you enjoy my content and want to support my artistic journey, I invite you to browse my Online Shop for more handmade treasures.
Every visit and purchase helps me continue doing what I love.
If you'd like to make a contribution, you can also support me on Buy Me a Coffee or Clic on the adds below.
------------------------------------------------------------------------------------------
These DIY tutorials are intended for personal use only. Reproduction, sale, or distribution of the items made with these tutorials, as well as selling the tutorials themselves, is strictly prohibited without my authorization. Additionally, the use of my text and pictures without permission is not allowed.
All patterns, explanations, and images are the property of CocoFlower and are protected by copyright law. All rights reserved.
